Screenshots are vital to the life of a technology blogger. Screenshots give you the ability to illustrate an article with the precise image of a device or software. You can simply use a screenshot of your device or software to illustrate a point in an article, display something on a Facebook, Twitter, or Pinterest post, or even use a screenshot as a saving a snapshot of any interesting moment.
Sometimes we use screenshots for various reasons, for example to share a screen with someone else or to show how to do something on a computer. There is a way to take a screenshot on Mac without actually having to use a screenshot application.
You can choose to capture the entire screen, a window, or just a portion of the screen and save it to a folder of your choice. I usually put it on the desktop so I can file it and place it on a folder or delete it.
Many of us take screenshots for a few different reasons. To show a colleague what something looks like, or to save a webpage for research later, for example. But why take screenshots? Here are the ways to capture this screenshot on your mac! IT is really easy .. simple and quick to do!
Take a screenshot on your Mac
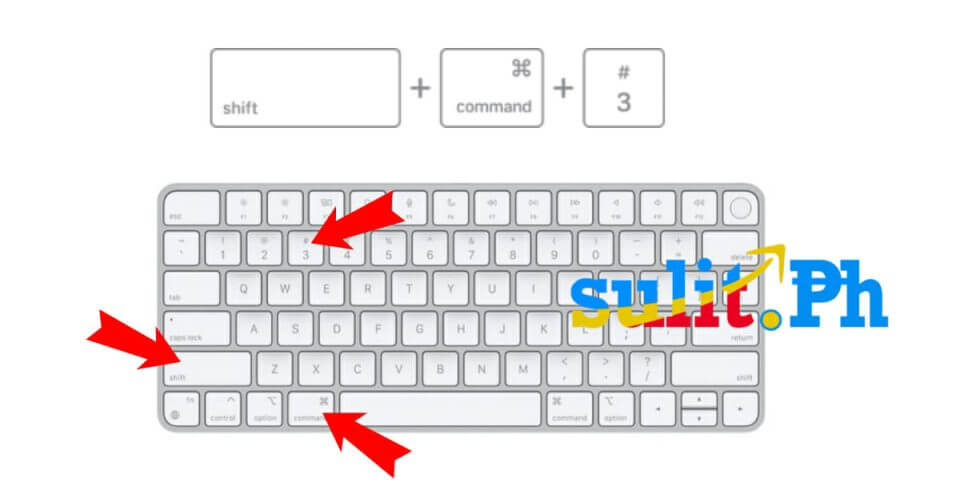
- To take a screenshot, press and hold these three keys together: Shift, Command, and 3.
- If you see a thumbnail in the corner of your screen, click it to edit the screenshot. Or wait for the screenshot to save to your desktop.
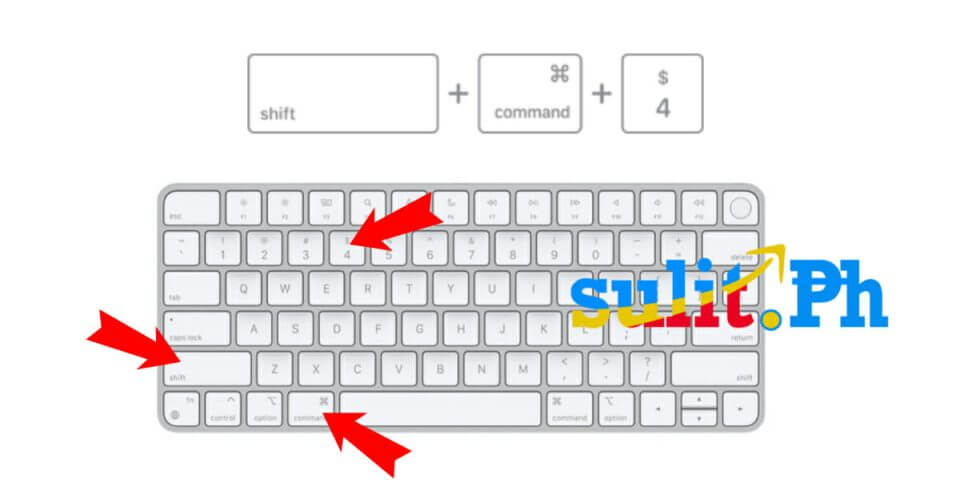
How to capture portion of screenshot
- Press and hold these three keys together: Shift, Command, and 4.
- Drag the crosshair to select the area of the screen to capture. To move the selection, press and hold Space bar while dragging. To cancel taking the screenshot, press the Esc (Escape) key.
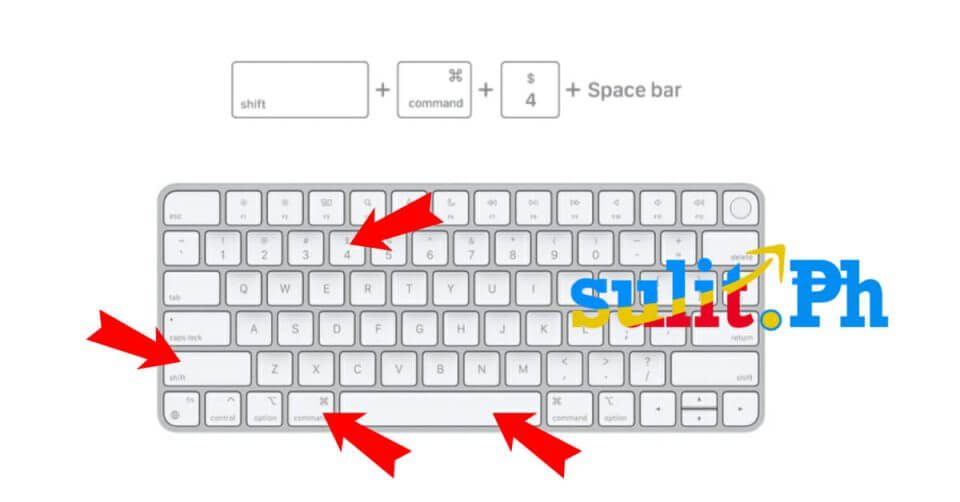
How to capture a window or menu
- Open the window or menu that you want to capture.
- Press and hold these keys together: Shift, Command, 4, and Space bar. The pointer changes to a camera icon . To cancel taking the screenshot, press the Esc (Escape) key.
- Click the window or menu to capture it. To exclude the window’s shadow from the screenshot, press and hold the Option key while you click.
- If you see a thumbnail in the corner of your screen, click it to edit the screenshot. Or wait for the screenshot to save to your desktop.
Screenshots are a handy way to save information that’s important to you. Whether you’re sending someone a screenshot or saving one yourself, your computer makes a copy of everything you see on your screen and sends it straight to the hard drive. That’s great if you’re doing important work or text writing, but you have to have a backup in case anything happens to your MAC
